yesterday i spent some time on the rc-tankproject i’m sharing in this tutorial with you. so there’s a lot of stuff to tell in this second article.
…
first of all i removed the motor from the old chassis…
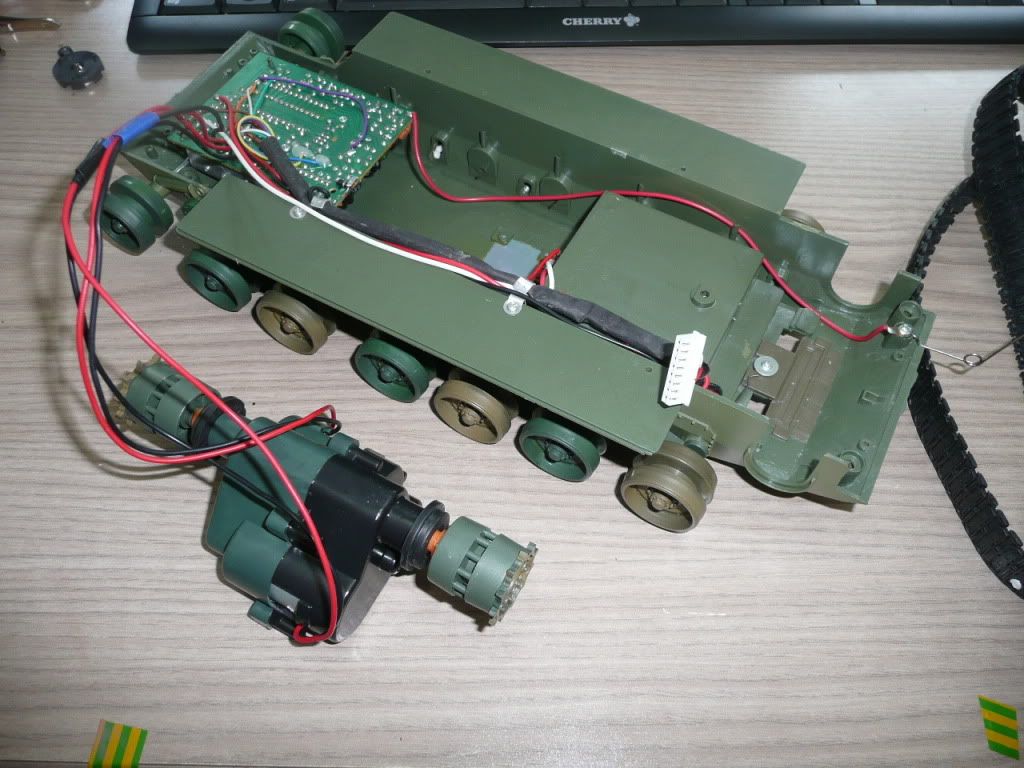
… colored the lines and cut them.
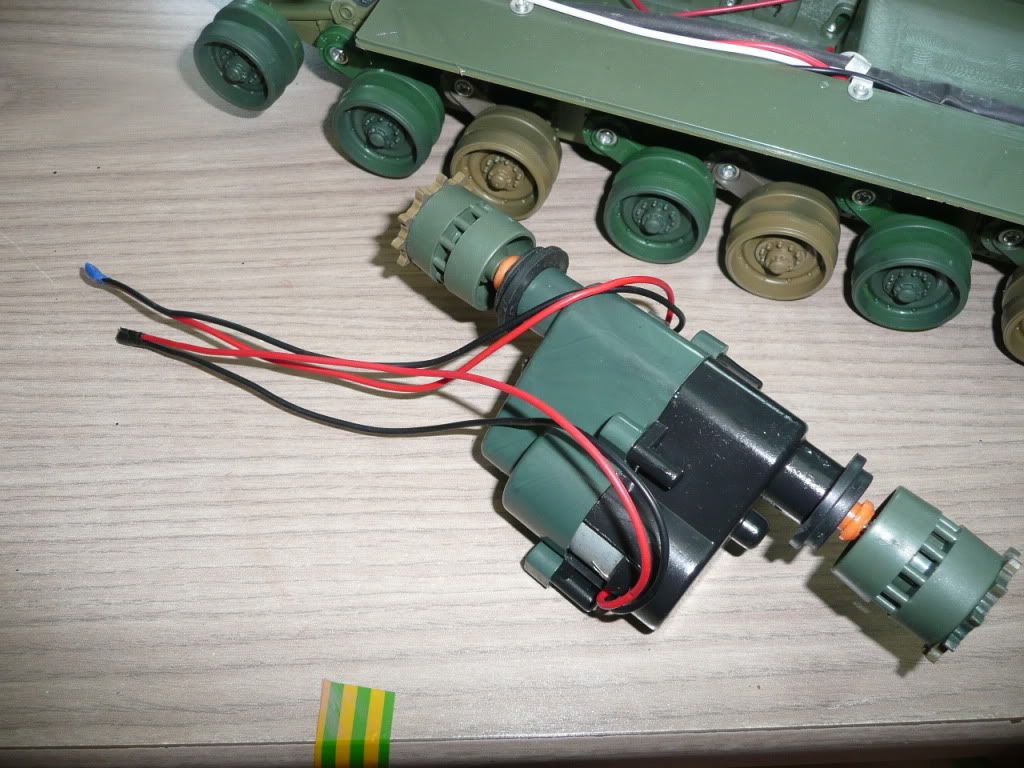
as you can see i also already prepared the tanks sidesections and floorplate …
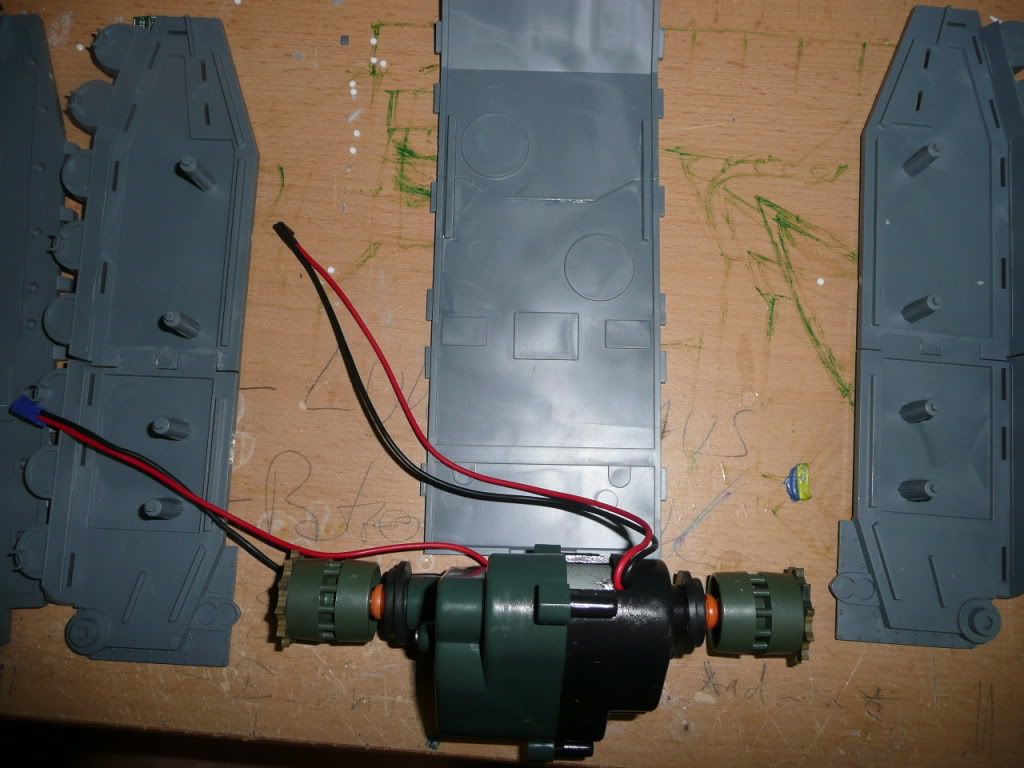
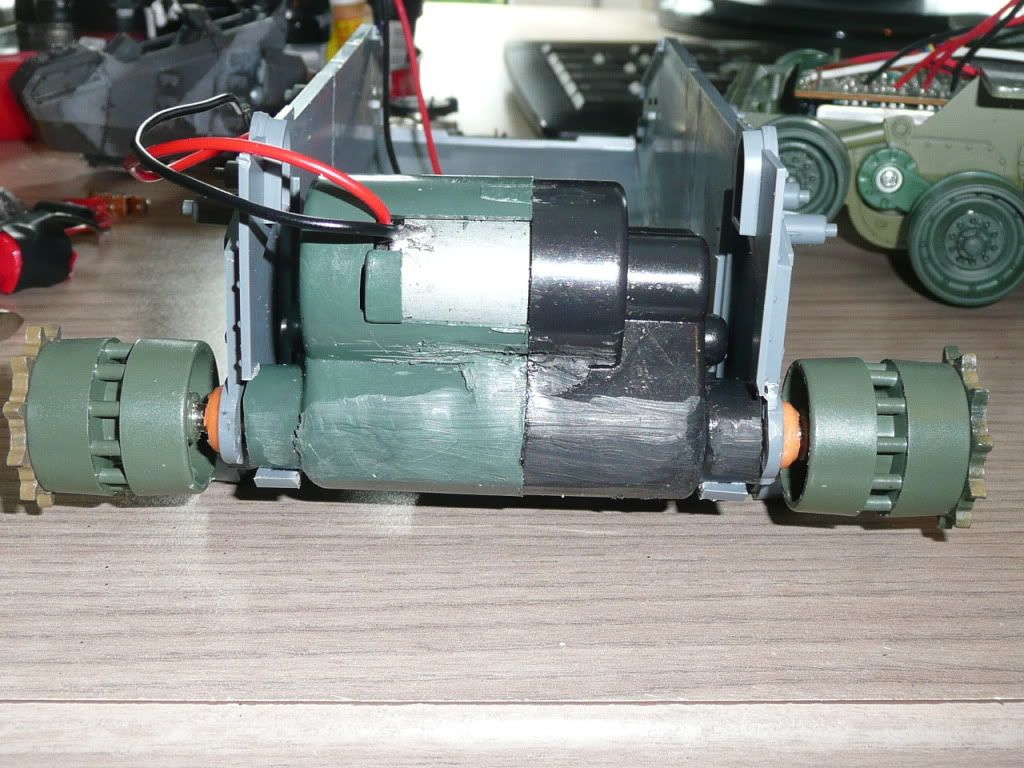
but at the moment the gear including wheels is a bit to wide. …
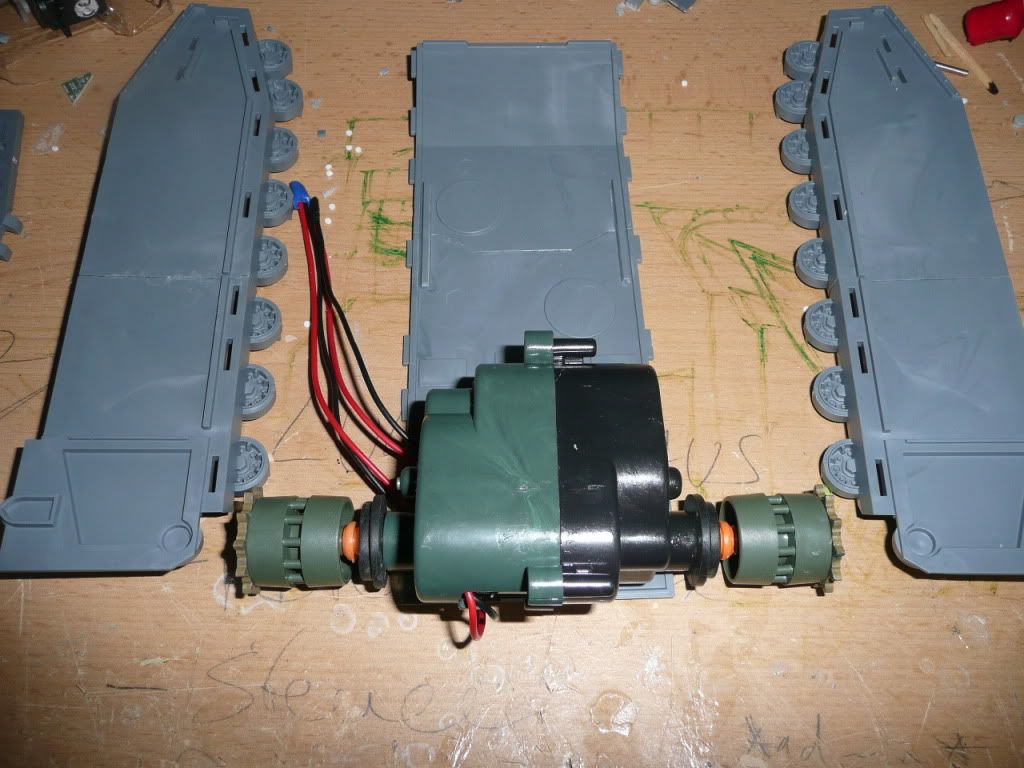
so i carefully removed the wheels. please take care at this step not to pull the whole axis out. you’ll get it back in again, but you’ll need to open the gearbox to achieve this. – so it is really best simply to keep the axis inside.
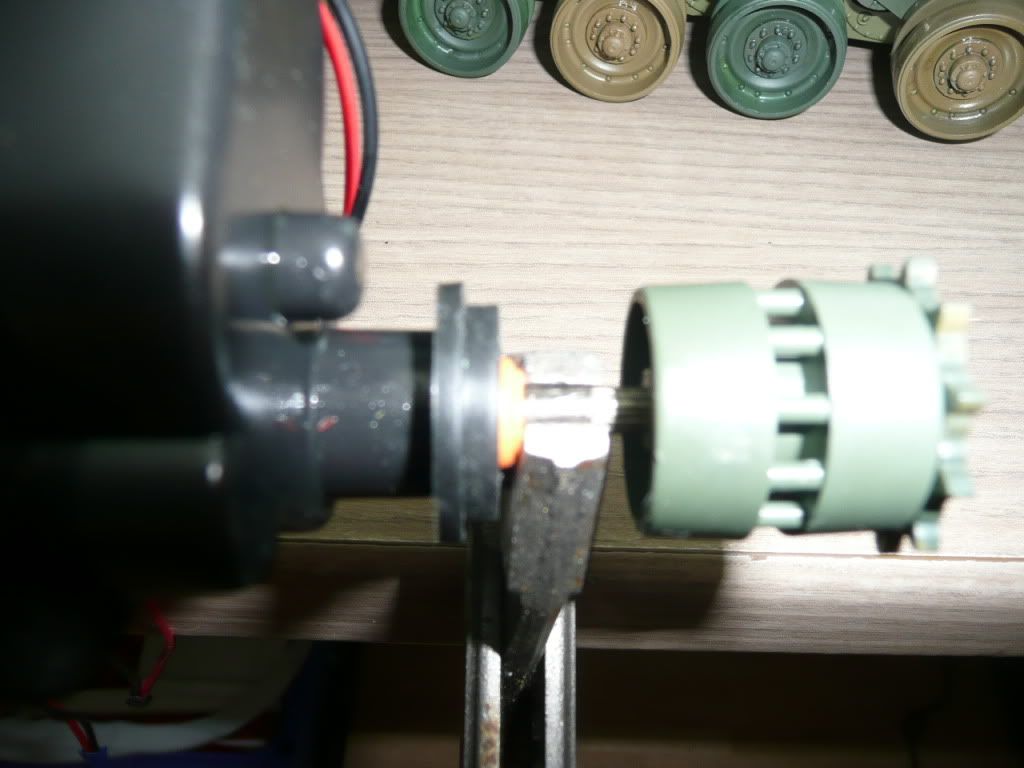
with the wheels removed i took a sharp knive and started to trimm the gearbox. don’t make it too narrow. just enough to make the box fit exactly in the tanks body.
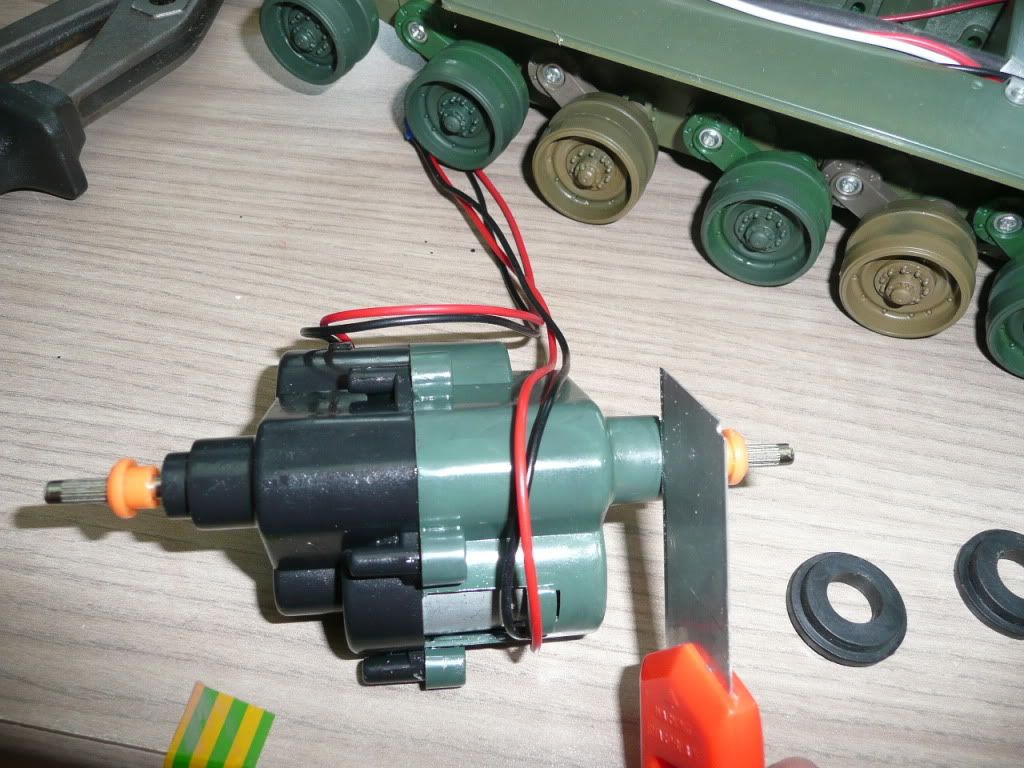
The green areas needed to be cut as well …. please be very carefull not to cut to much material …. and foc ourse also not to cut yourself.
and from the other side …
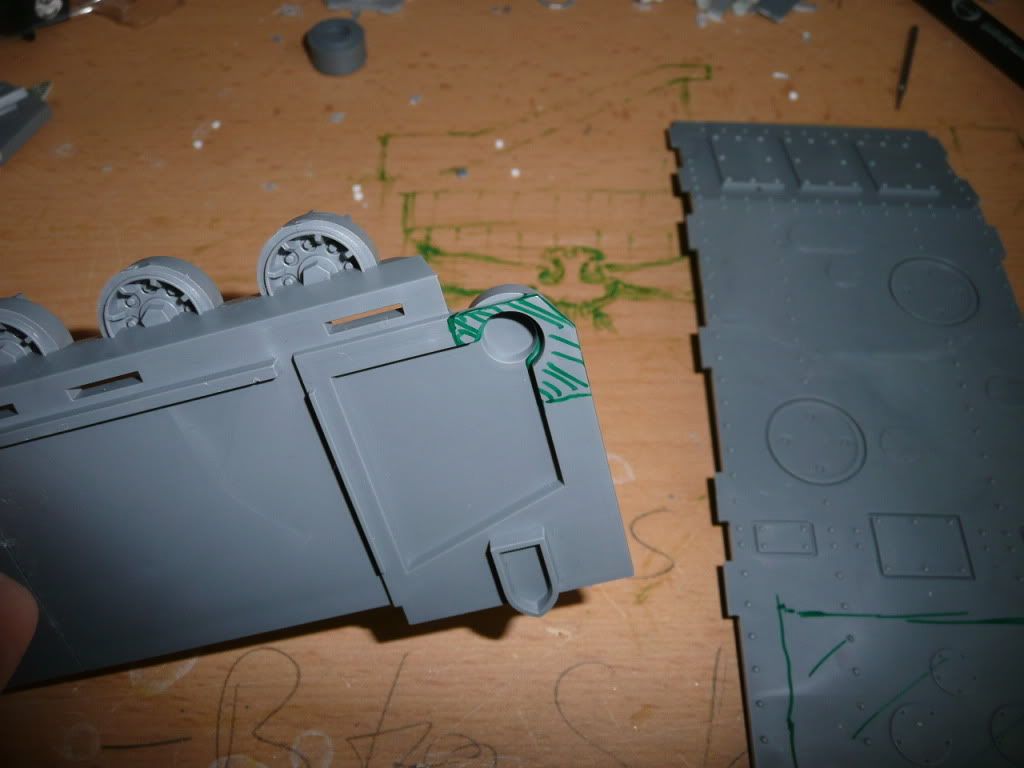
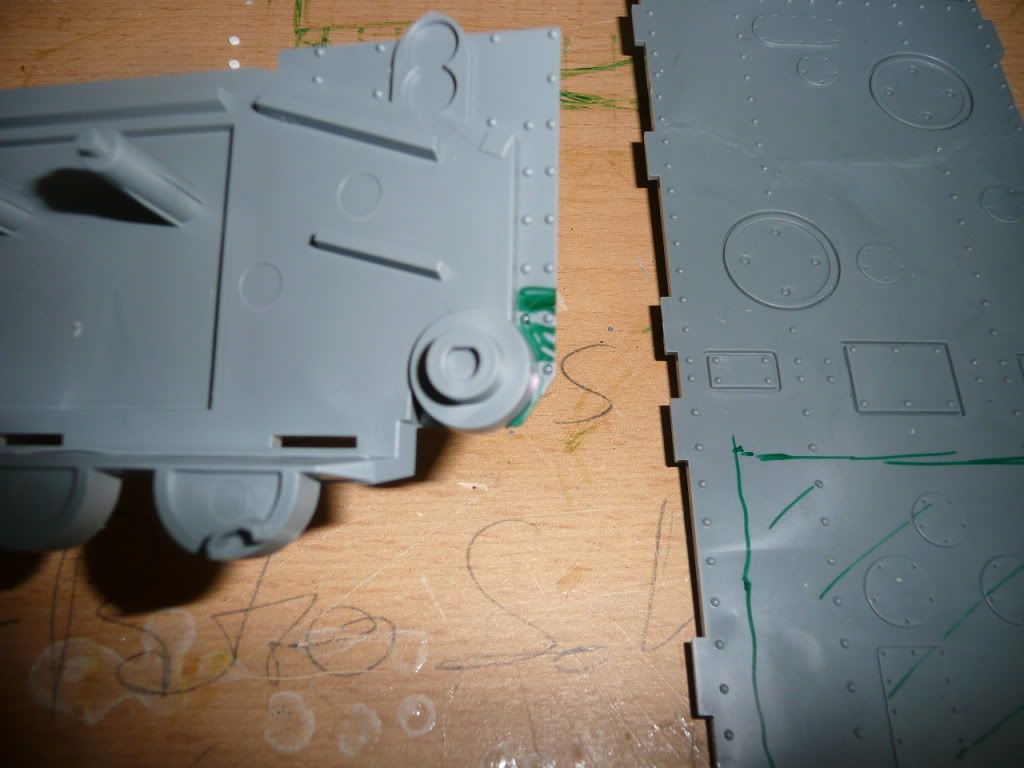
it is a little bit tricky to figure out the perfect cutlines for the whole in the floorplate … mine were those it it worked pretty well for me.
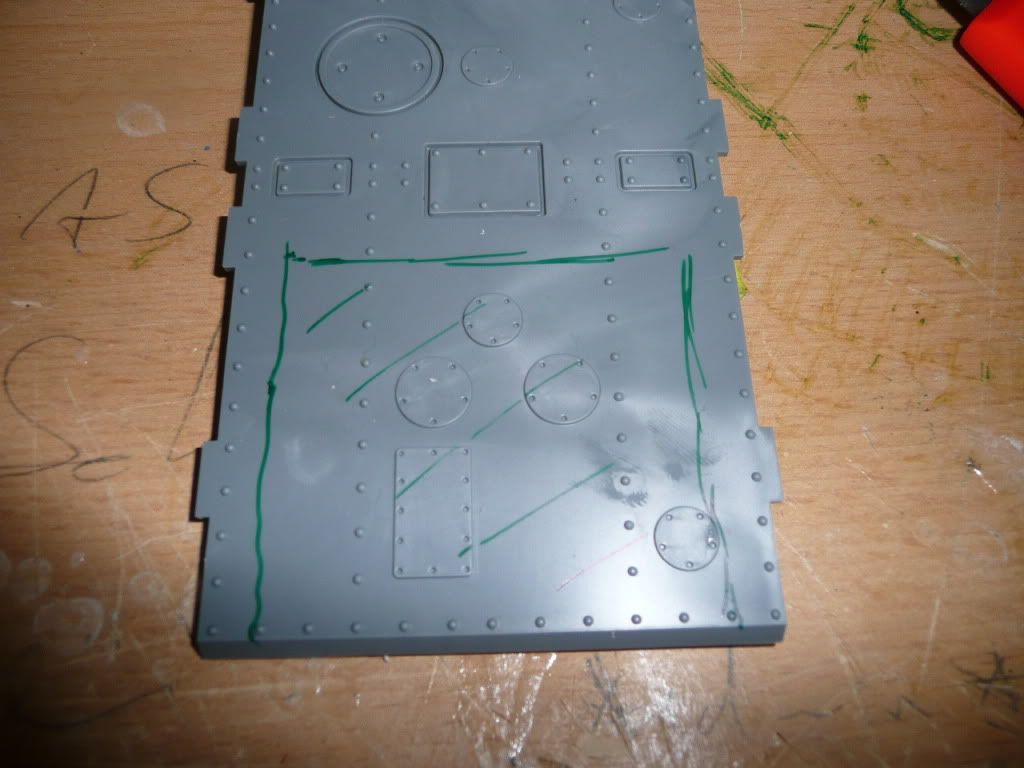
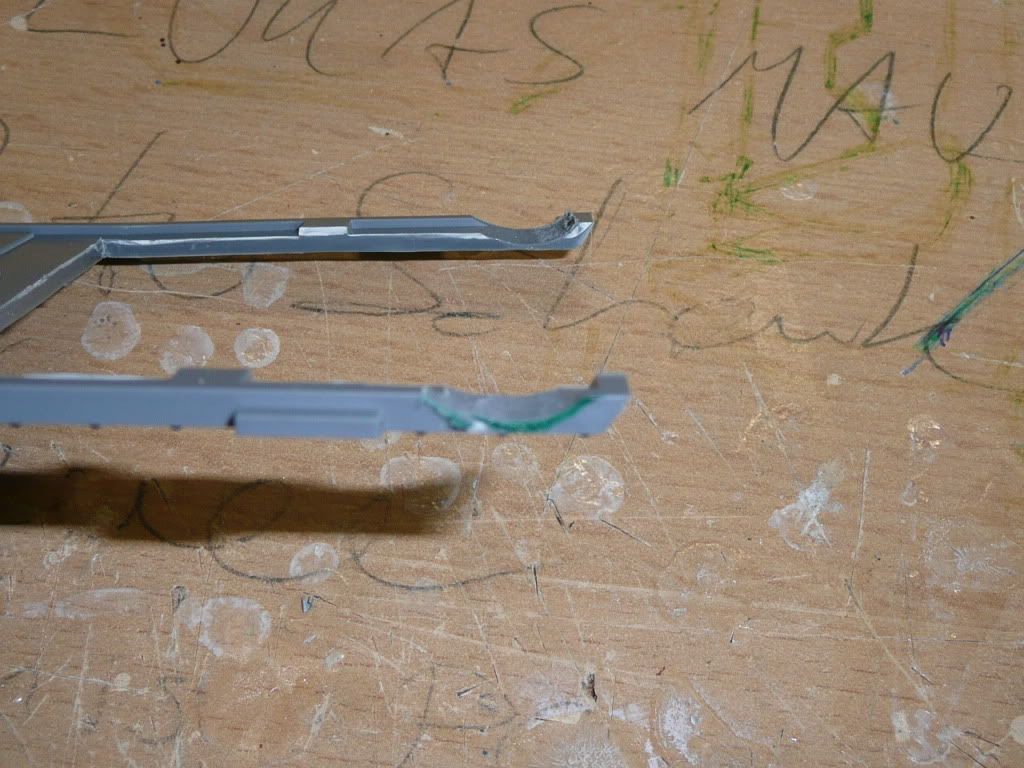
here you can see the already prepared part on the left and the original one on the right.
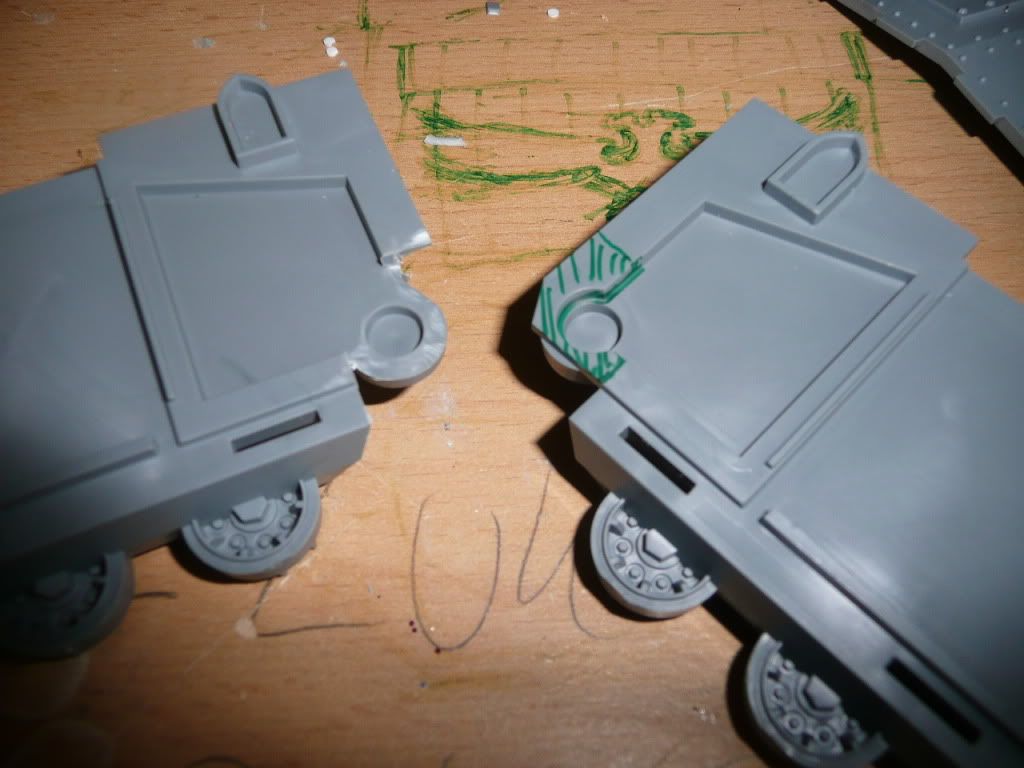
this pic is maybe a little confusing, because you might remember that i told you in one of the steps from before to narrow the gearbox. i still haven’t finished this step in this pic …
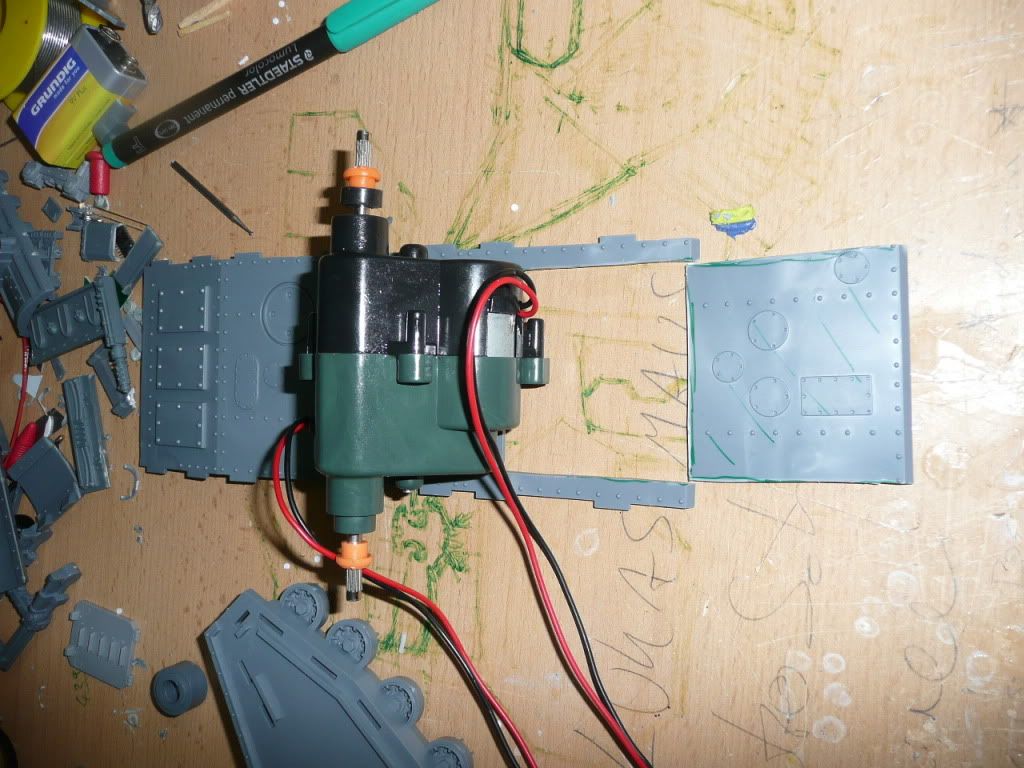
and now something important. i wanted to keep the floorplate conected with the tanks rear. but unfortunately therefore we’ll need to carve some material from the the areas directly below the axis. i used a dremel to achieve this.
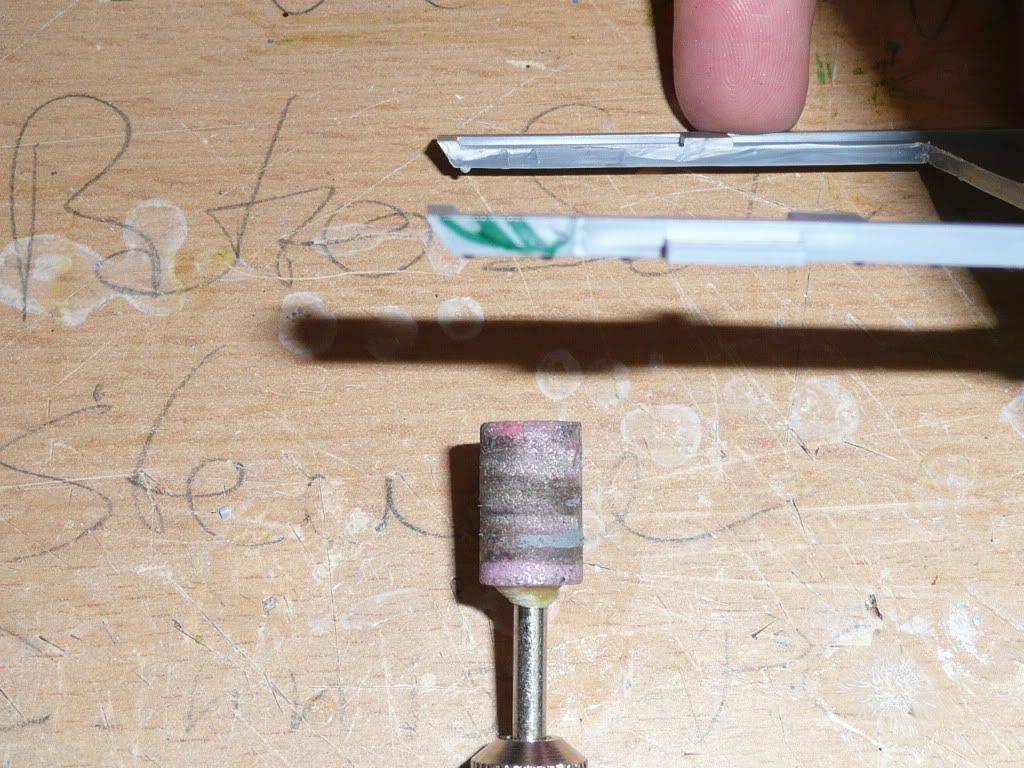
and here’s the result …. :
durign dissasembling the gearunit, we also removed those little orange rings which were ment to hold the axis centered. we’ll also use them for this function. the only difference is, that we use them upside down. but before clicking them into the side you’ll have to carefully drill a whole in it with exactly the diameter of the ring …
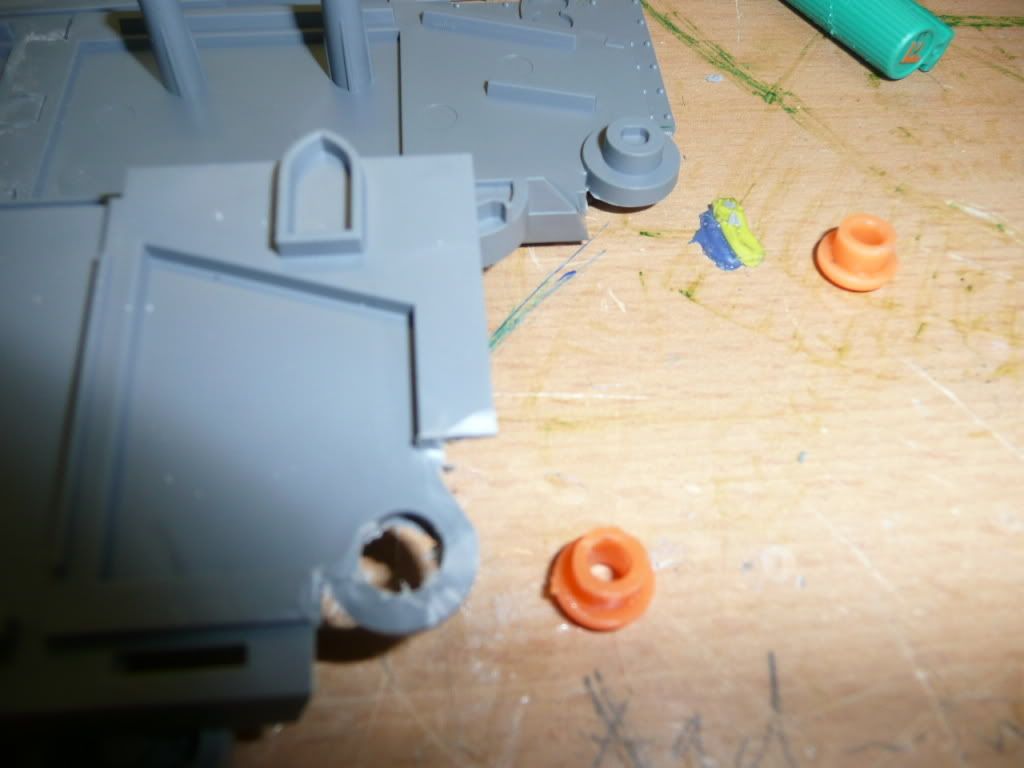
click it in to see if it fits ….
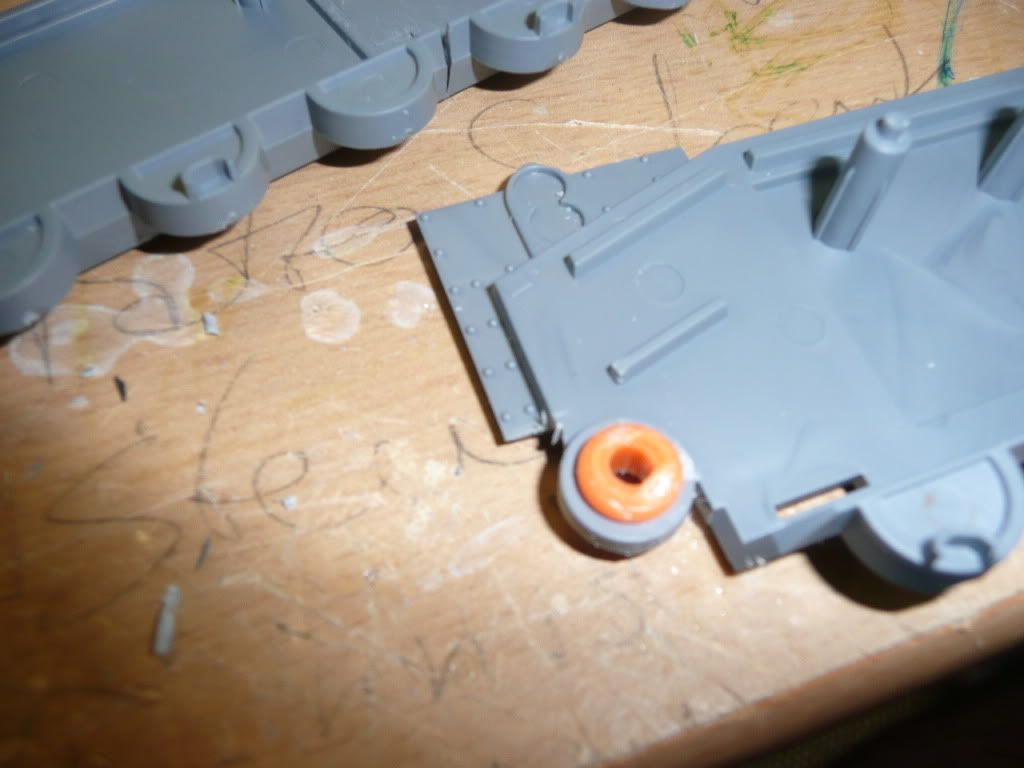
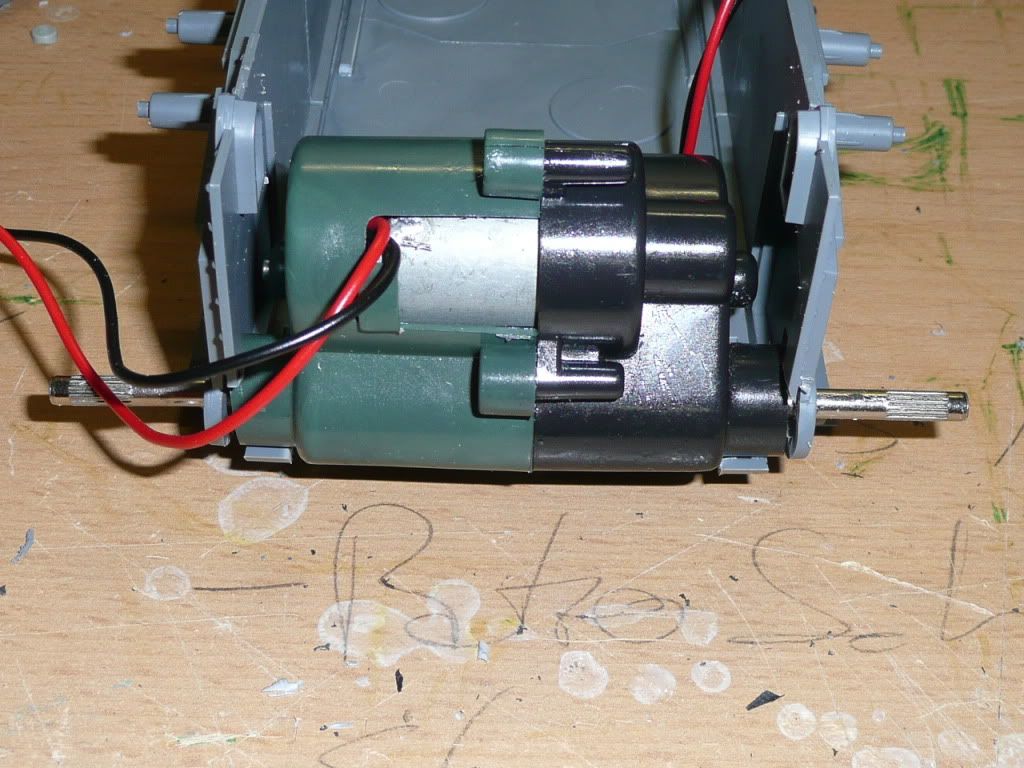
if everything went wrong, now you should manage to install the motorblock in the tank for the very first time …
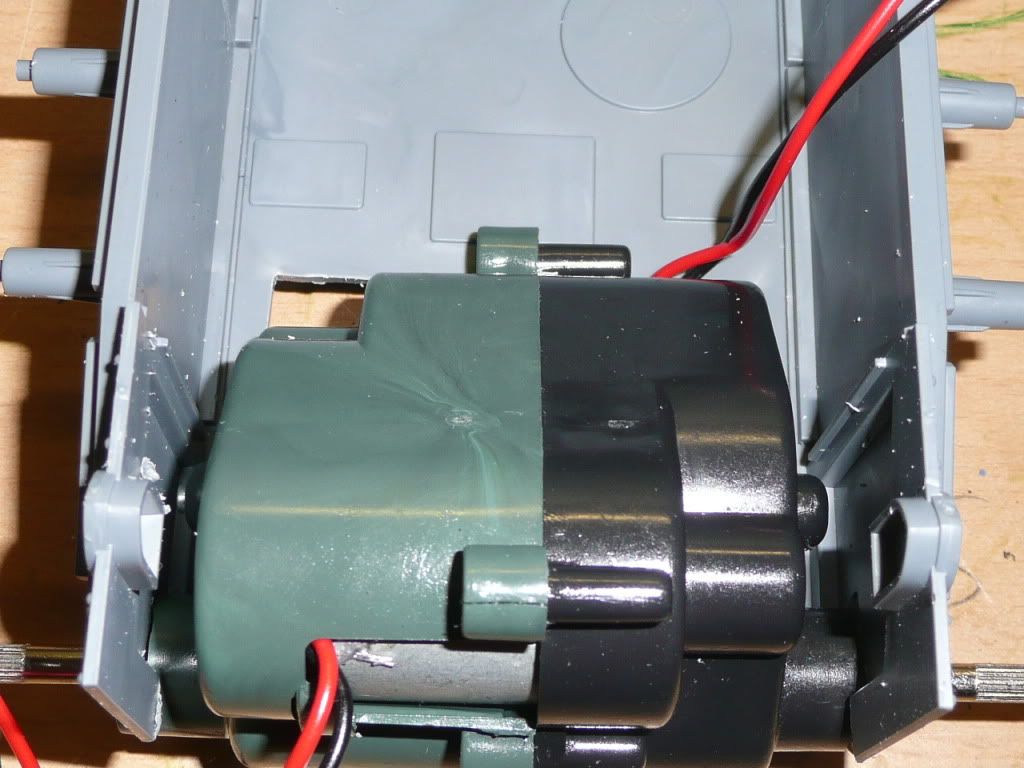
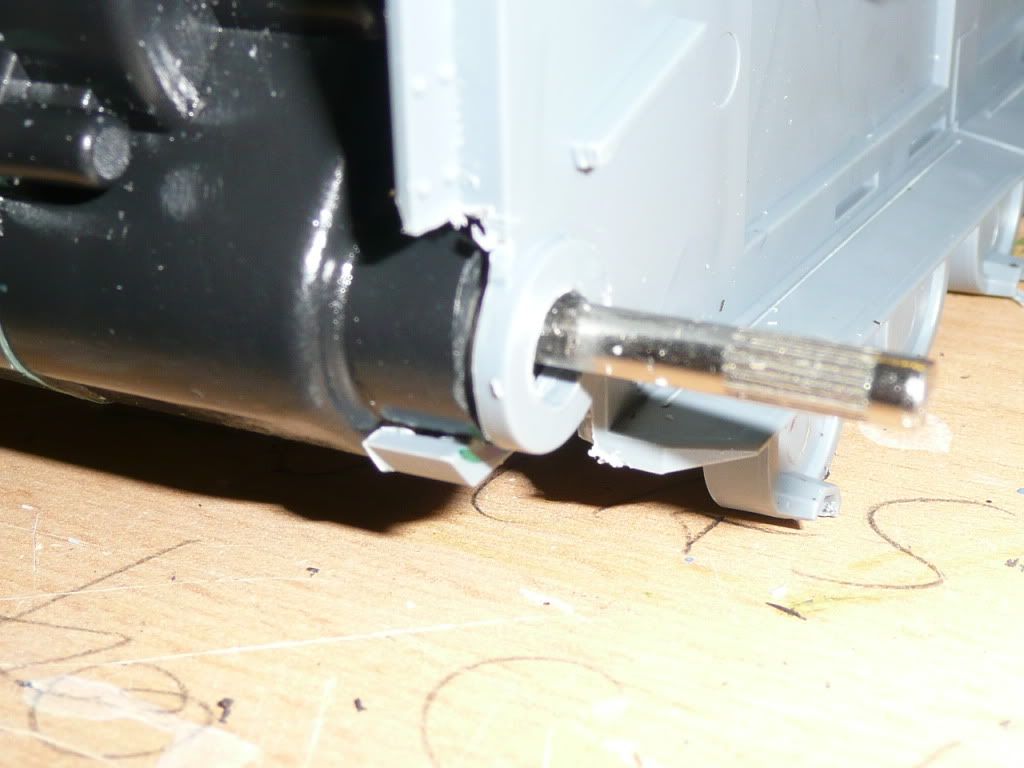
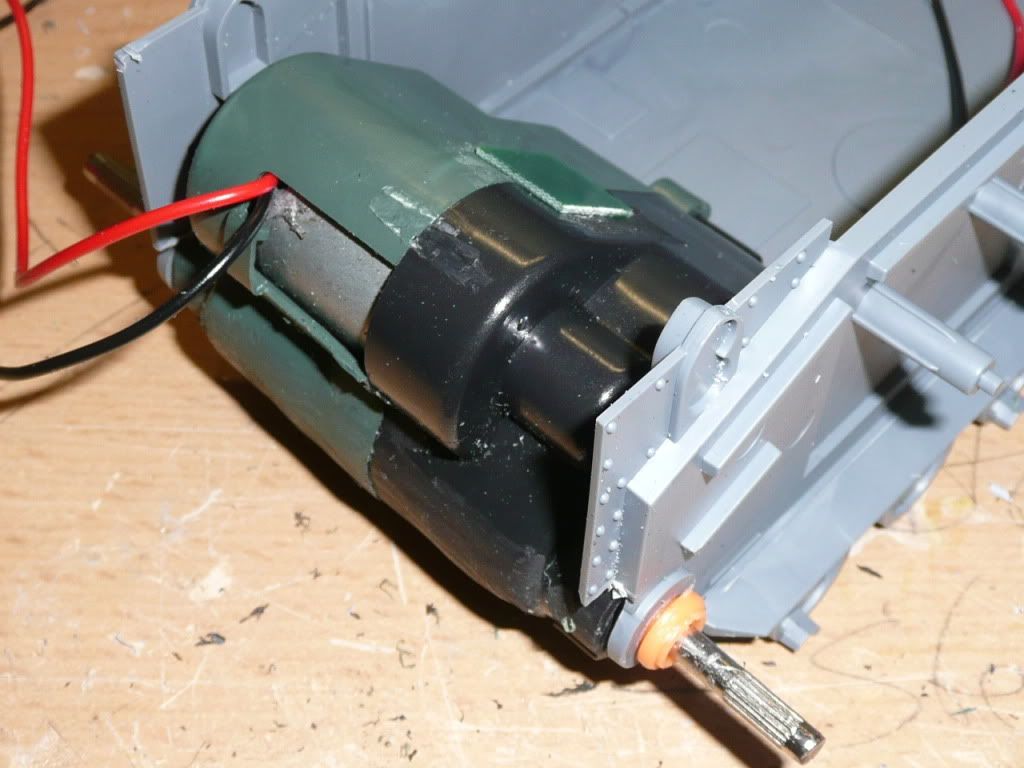
now let’s get back to the wheels again. because of the fact that they we’ll mount them narrower, now we’ll have to open their covers with a small whole for the axis.
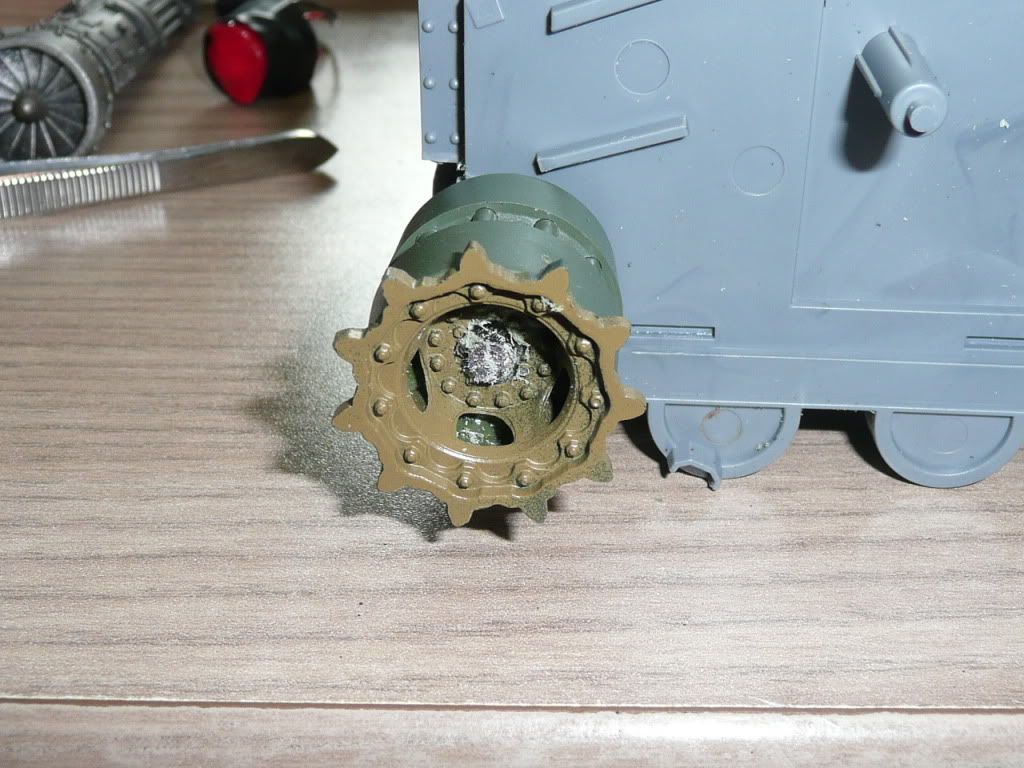
than i used my dremel to remove some material from the gearboxes backside.
und unfortunately because of the fact that our motorblock is coming from a 1:24-tank it is too big build the roofs rearsection like we normally to for the stormlord.
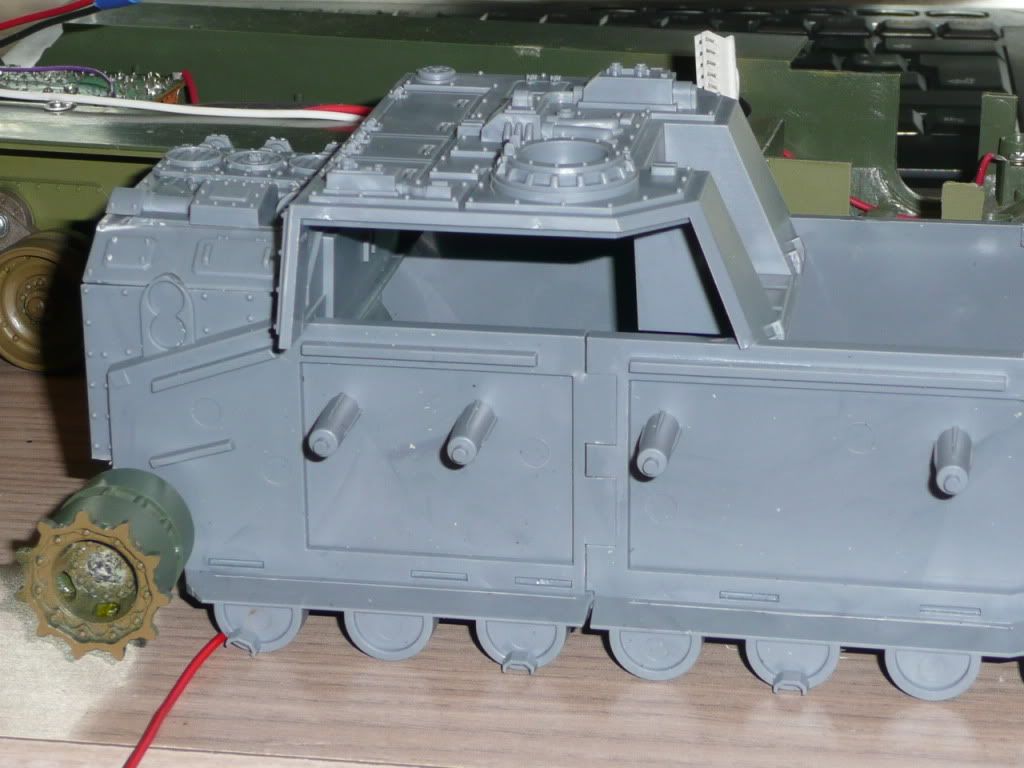
and even for the other variants we’ll need to cut the inner section from the rears top before we are able to install it.
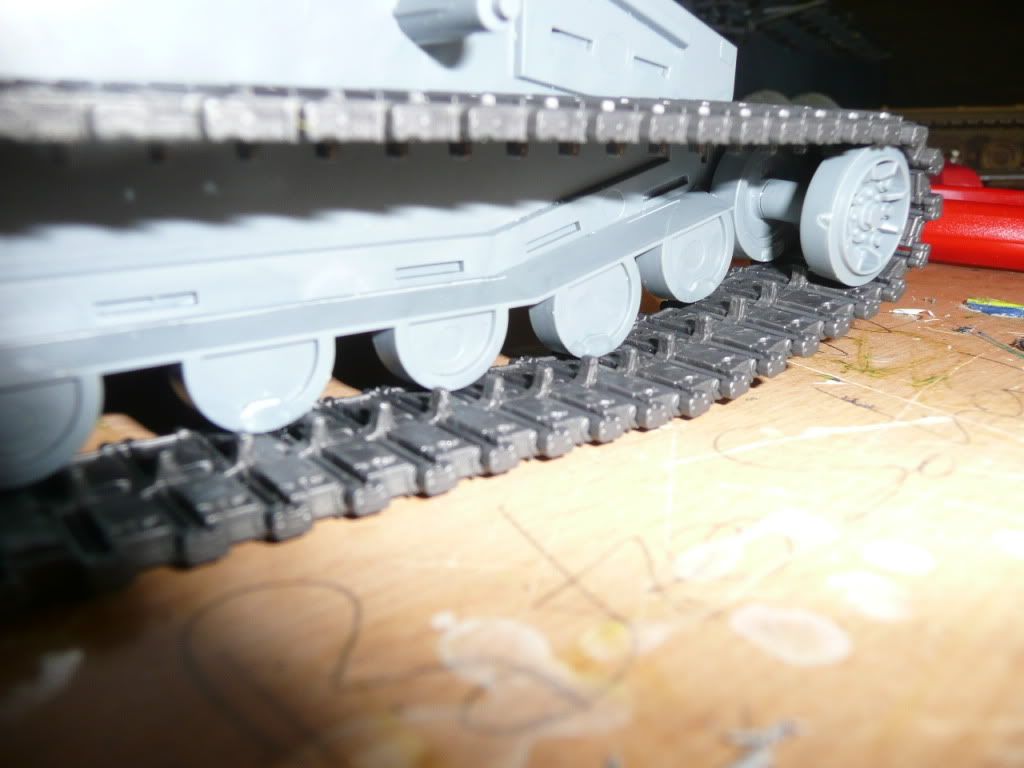
and now that we todays lesson’s almost over, here might come the first big suprise for some of you. as i told you before i’ll try to go the easiest and cheapest way to rc a baneblade-variant, this time. therefore i will NOT install any movable wheels but the rear ones. yes! … that’s right. not only no suspension, but also not even spinning wheels. so we’ll keep the original ones, which of course will keep the later appearence as close to the original as possible. the great thing is, that now, those of you, who want to have all wheels spinning or maybe even a single wheel suspension like i installes in my last iron saint, could simply go for it and meet me back in part 3 of this series. for the others it will be jsut fine to mount the frontwheels like described in the manual and than mount the tracks.
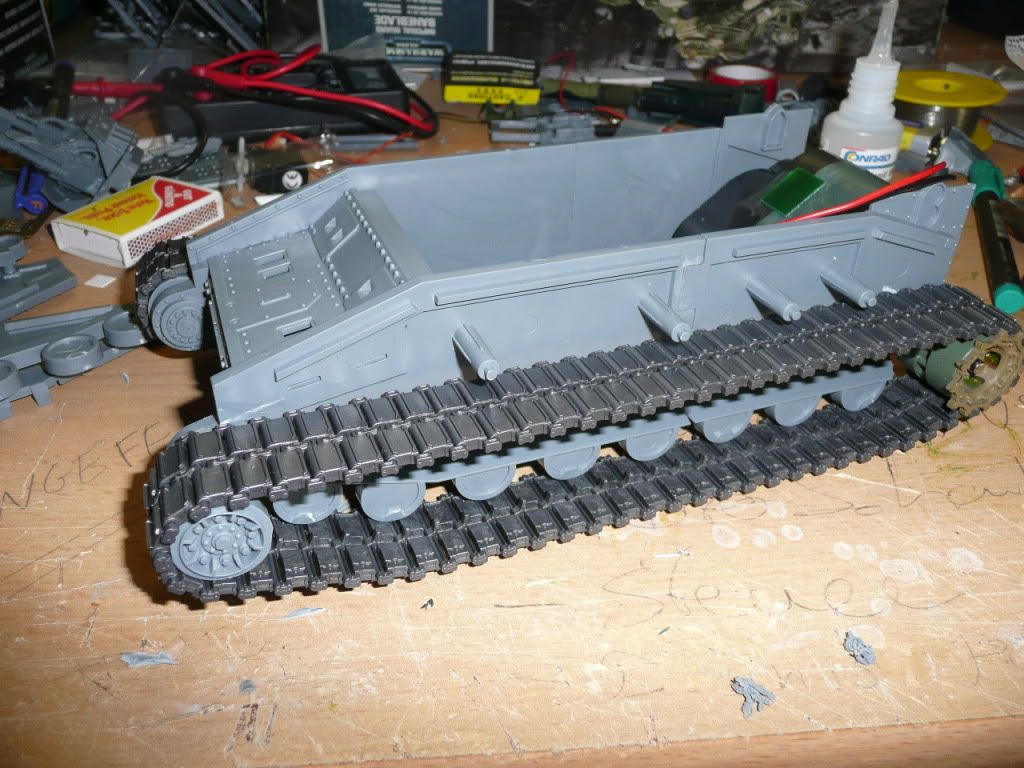
isn’t that beatiful? ![]() …
…
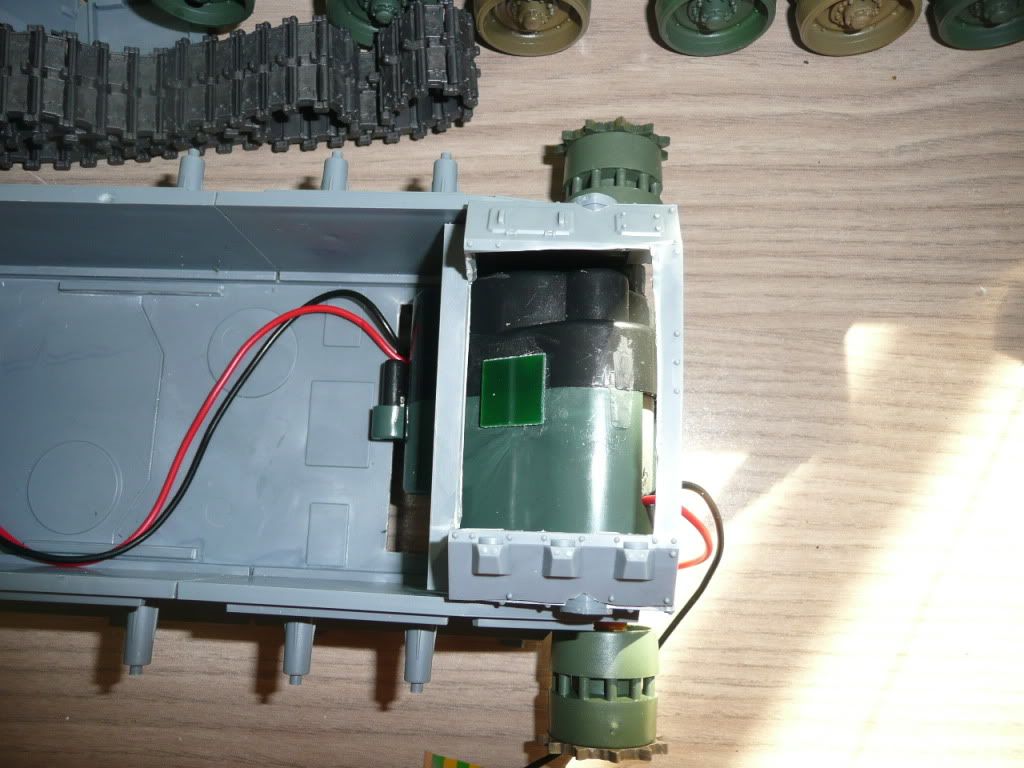
but please take a second to look at the motorblock ones more. as you can see i also removeed the screws on top as i saw that i won’t need to open the box again. to keep both halfs together i simply glued this small green plate directly on the connectionline.
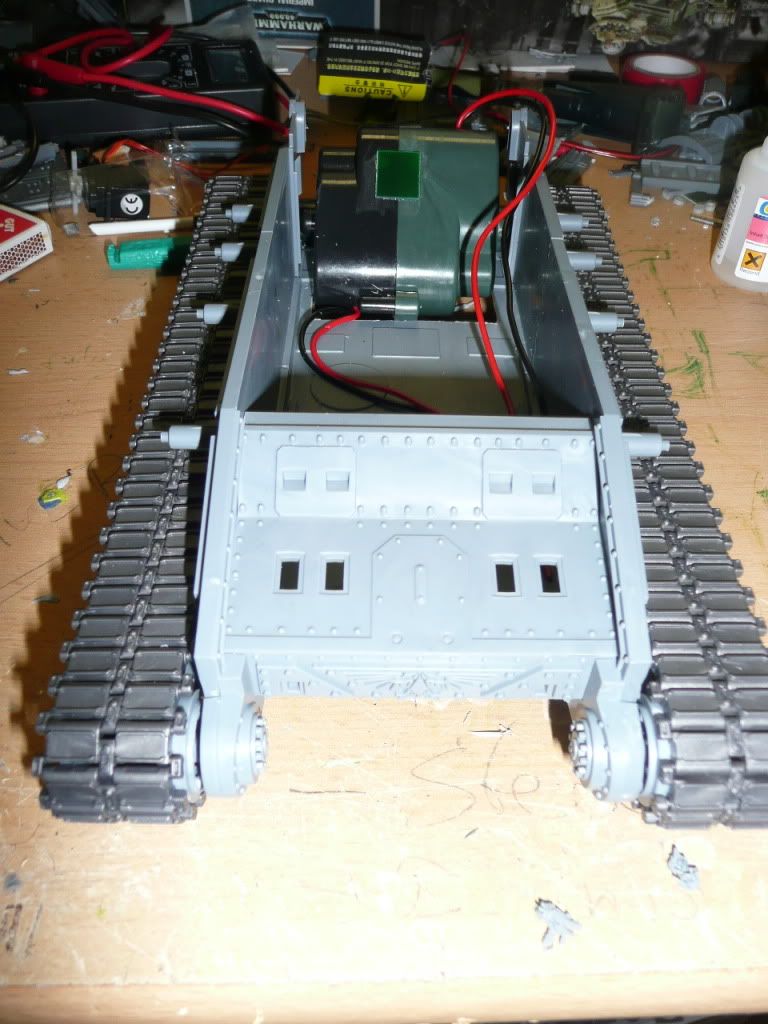
and another pic from another perspective … :
ok .. that’s it for part 2.
and to calm down the scepticts regarding driving without moving wheels?! … i quickly inserted the controllerunit and batteriepack and let it run for the following video. the speeds of course still much too high, but somehow this is also some kind of fun. … maybe i’ll install a poti later so i can choose between different drivespeeds when it will be finished …. —- but that’s all to come with one of the next articles.
thanks for reading,
bobpanda.
and as promised, here’s the vid … :
Thanks for watching my vid. want more? Go and watch ma Youtube.com channel.
This post is sponsored by servermaniac.de

Great work man! Can’t wait for part #3!
Holy crap, this has been amazingly helpful! I was wondering if you were going to do any tutorials on how to articulate turrets, and how to light the interior. I would be eternally grateful if you could do that kind of tutorial next!
Awesome, that’s all!
Now, when you’ll finish with this one and since you’ve done the Lanraider and the Baneblade ; for your next RC conversion, I propose you, the Baneraider!
http://www.warseer.com/forums/showpost.php?p=3584796&postcount=29
http://www.bolterandchainsword.com/index.php?showtopic=161260&st=0&p=1902997&#entry1902997
how tu instal a poti in this to choose between different drivespeeds
nice work-when will you make part three? as i am starting an rc shadowsword project soon and could realy use the help.
YOU HAVE TO DO PART 3!!!! what about the lights and main barrel and spotlight and fully moving wheels to add suspension, and rotating storm bolter turret! also how do i add different speeds? how am i going to do it if you dont post a tutorial!
is that rc tank the M4A3 Sherman Tank ?
yes it is.
Pencil and liquid eylnieer have very different textures: while pencil eylnieers can easily be blended and removed, liquid eylnieers have a much stronger “stay power” and create sharp lines. Many people like to use pencil first and blend it out, or just as a template because it is more easily removed if you make a mistake. Then they may go over it with liquid eylnieer to create a sharp line, which makes the eye shape more defined,efbbbf or simply because liquid eylnieer does not rub off easily