WOLFLORD-Titan
-lets start to build-
(legs)
As i’ve written in the previous article i started with the feet. there were some parts from the defiler left in my box and i decided to use them as toes, attached to the metatarsus that would consist of a leman russ turret. here’s a pic showing an early version that already gave me a good feeling of the size this titan could get:
while experimenting with other defilerparts i also tried out several other variants and finaly found this one to suit best:
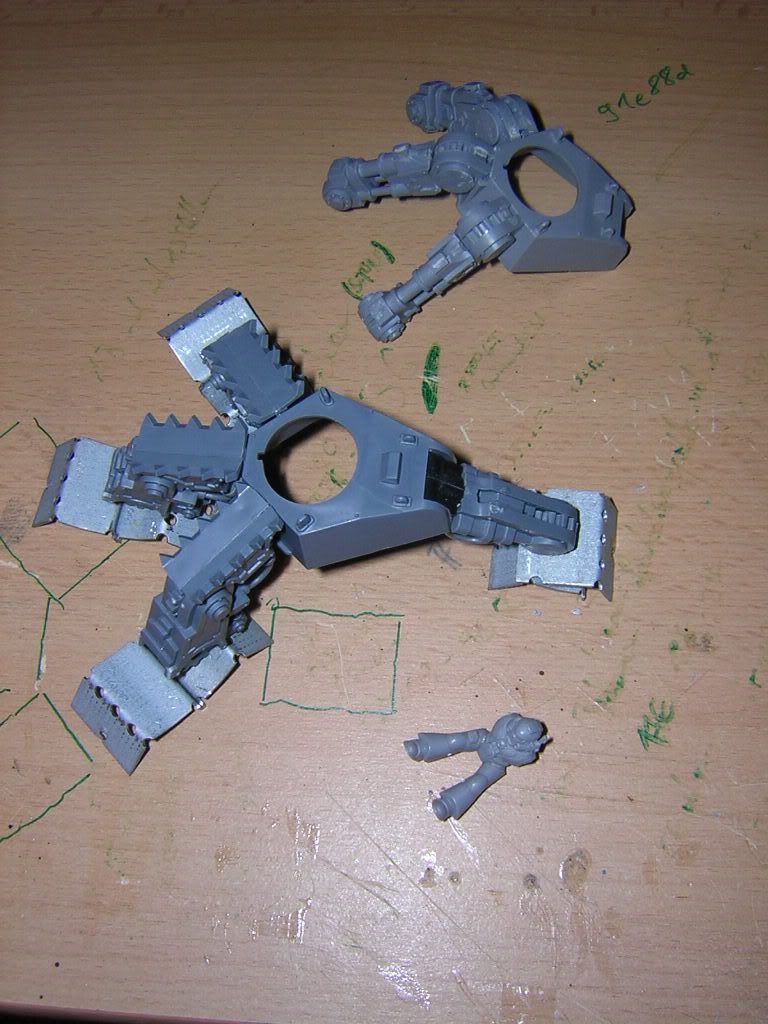
of course there was still a lot work to be done on the feet, but for a concept it should be sufficient. at a previous titanproject i already made some good experiences using a landraiders sidesponsons as hinges. because of the fact that they fit perfectly on the turrets top i decided to keep it easy and use it as knuckle:

and as you can see here, while starting to attach some parts of the lower leg structure the toes also got another facelift to make them look even bigger and more stable.
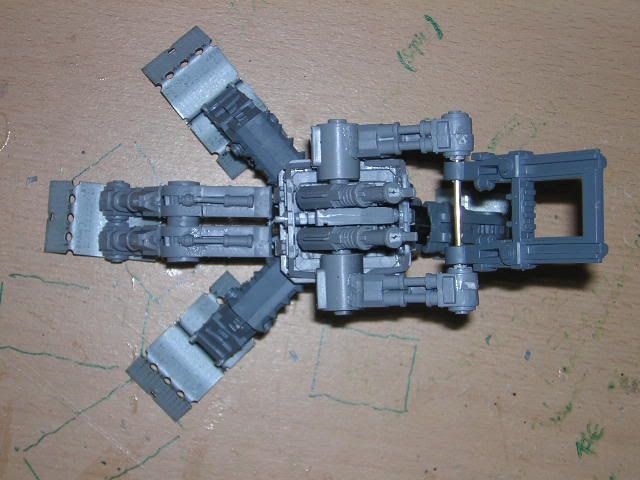
now, with the basic feet-structure and the joint to the lower leg defined, i was able to start thinking about the pose the model should become. initially i wanted to choose a simple and firm arrangement, capable to support the prospective titans heavy body without any problems. but than i judged is as too easy to do it forgeworld-style. ![]() … i mean FWs’ reaver looks great, but its’ posing is lame, isn’t it? with this statement done i had no other choice than finding a way to create a pose more dynamic but still stable enough. the solution was to keep both feet on the ground. but to make it look more dynamicaly, i simply arranged one foot as if it was just before lifting from ground to do the next step.
… i mean FWs’ reaver looks great, but its’ posing is lame, isn’t it? with this statement done i had no other choice than finding a way to create a pose more dynamic but still stable enough. the solution was to keep both feet on the ground. but to make it look more dynamicaly, i simply arranged one foot as if it was just before lifting from ground to do the next step.
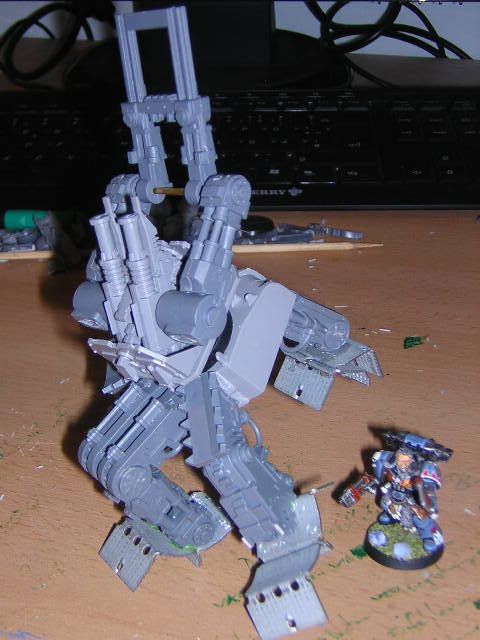
with feet capable to stand on their own, i started planing the hip. up to now this became the hardest part of it, because there were so many things i hadn’t known yet, like the lectrsuctures width. or how long the legs should be in the end, when the upper leg will also be done. … – additional to that i had many different ideas for the legs and the hips, but unfortunately no good ideas how to connect them in a physicaly realistic looking way. to overcome this problem, instead of keeping it simple i simply decided to actually do it physicaly correct. ![]() the intention behind was a simple one: if i’d manage to build a leg-structure including pelvis that can be moved in a physicaly correct way, i would be allowed to easily choose the final positioning and than simply fix it using superglue and cotton.
the intention behind was a simple one: if i’d manage to build a leg-structure including pelvis that can be moved in a physicaly correct way, i would be allowed to easily choose the final positioning and than simply fix it using superglue and cotton.
what follows now is a series of images of some wips on my way to realise what i described above … :
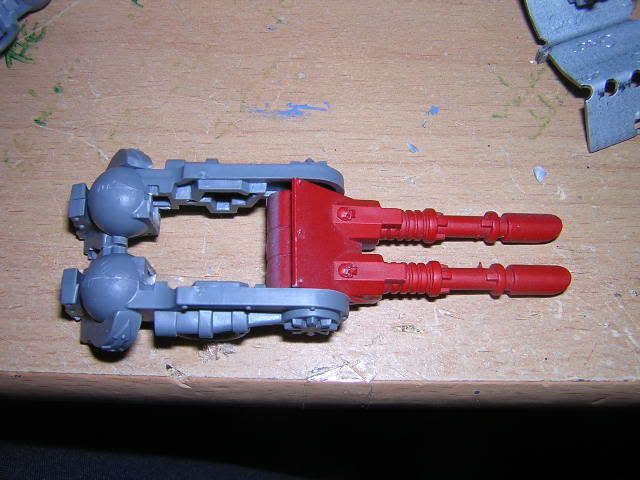
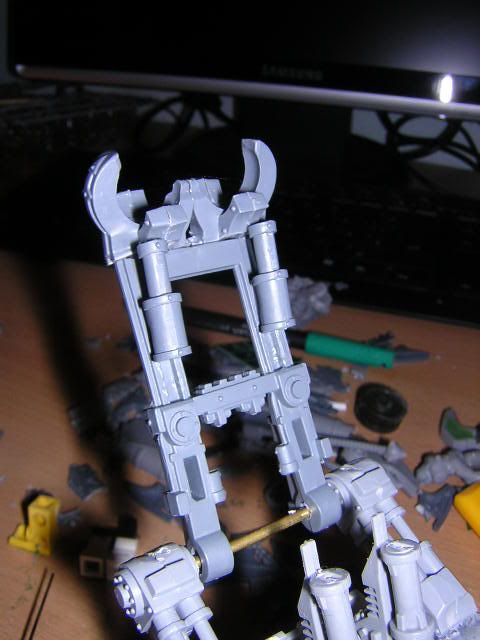
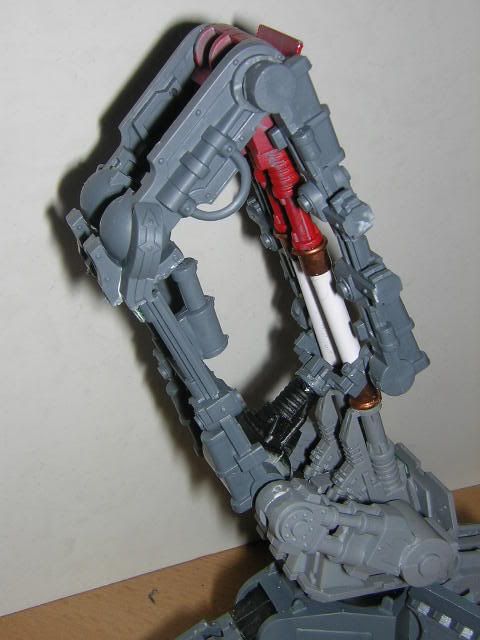
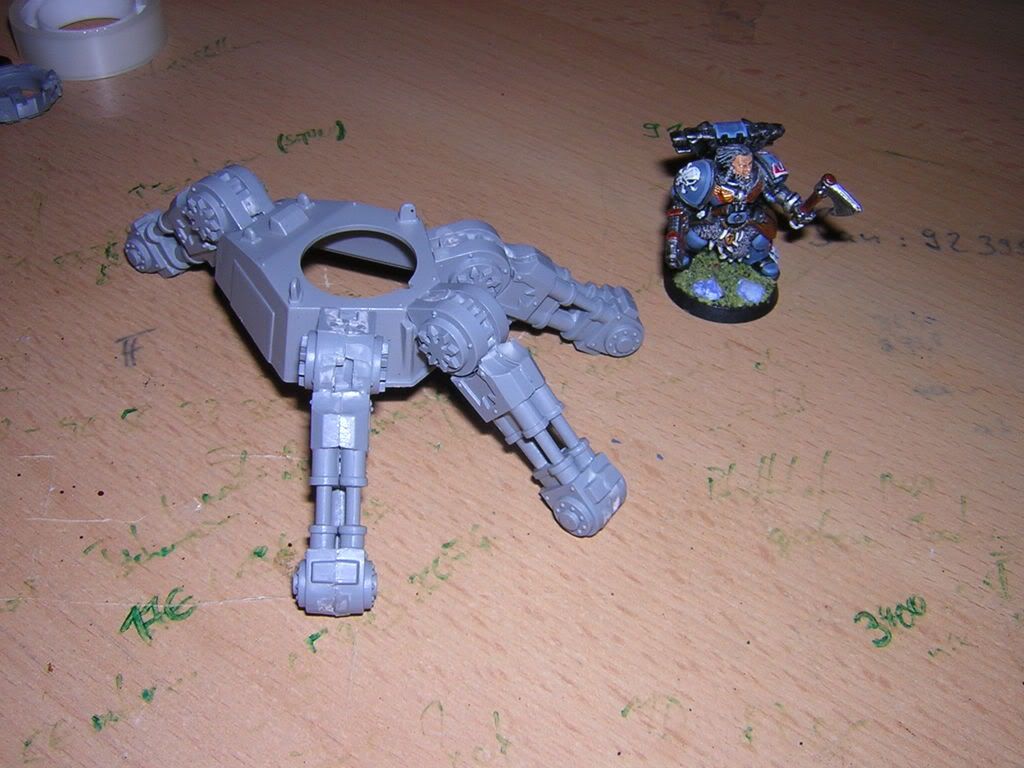
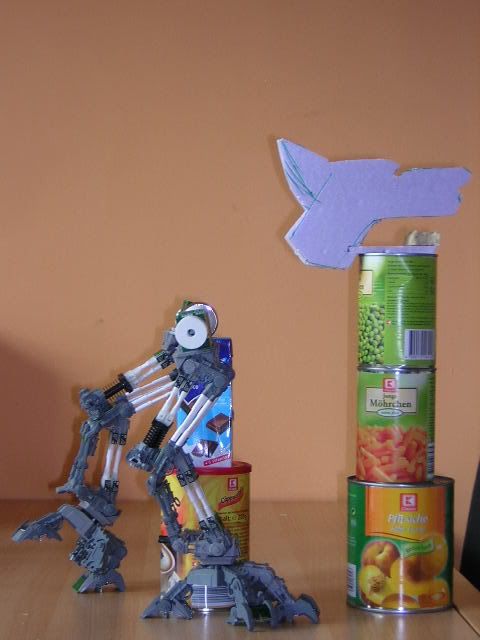
the next one is nice to show how big it meanwhile was. … – look at the small marine on the desk ![]()
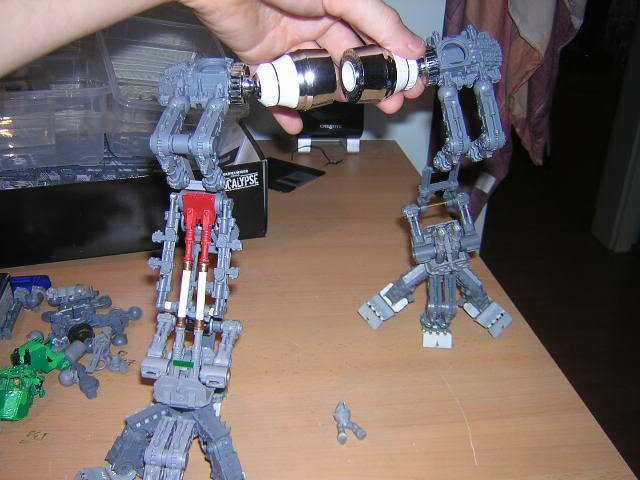
and here’s another one that is quite good for size comparison purpose…

-
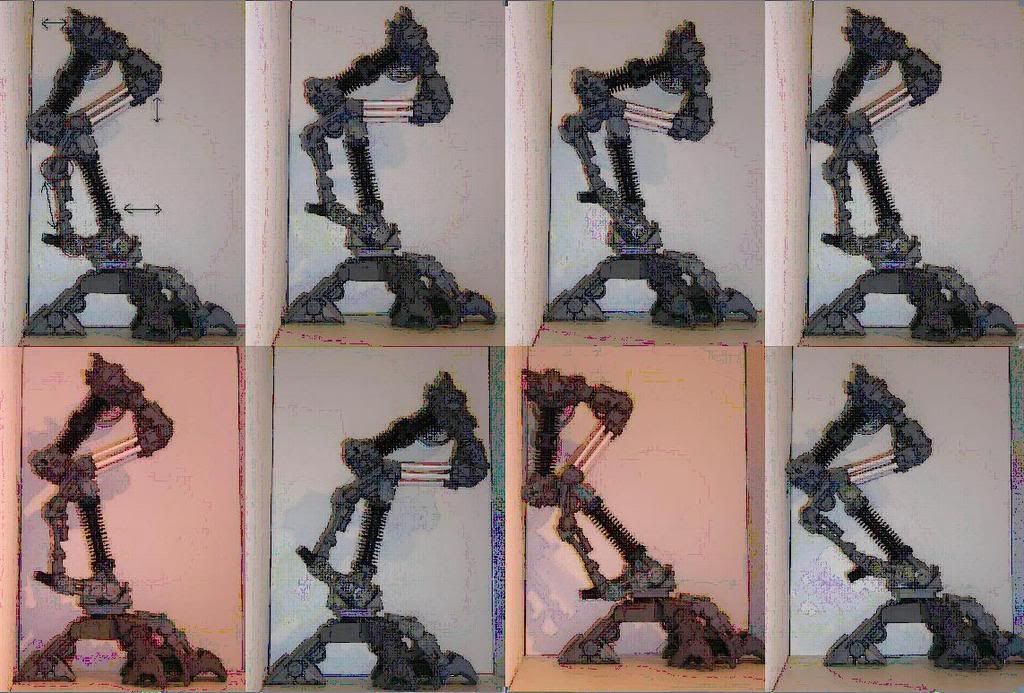
and now some might say: “hmm … ok … but where are the movable joints and hinges BobPanda mentioned above ???”
to demonstrate this a made some pics showing different positions and arranged them next to each other …. :
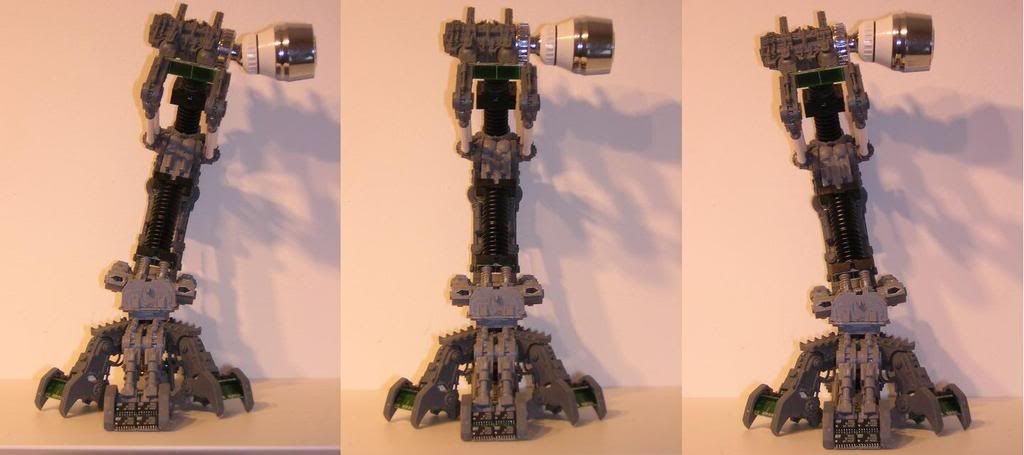
now that the legs were already looking pretty good i did something that’s realy typical for me: i redesigned them. the main reason was to make them look better and extend their lenght. here’s the result: (right: new version. left: old version)
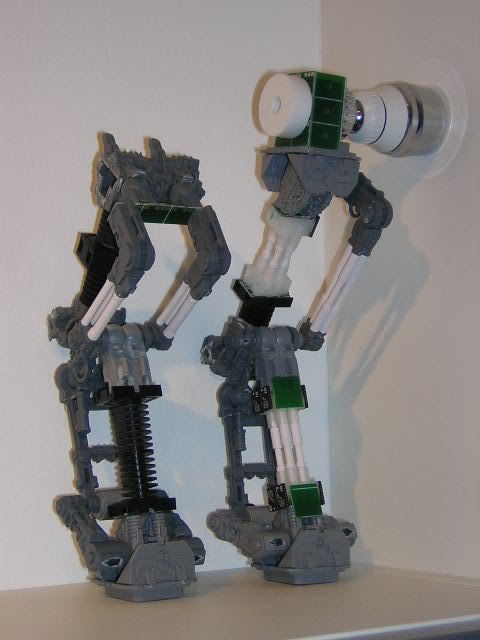
as you can see, i also redesigned the pistons to make them look more like as if they were moved by oil.- or airpressure.
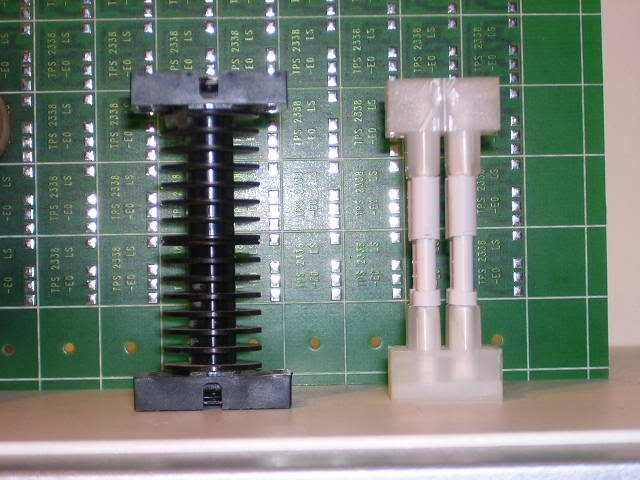
and in parallel i also continued with the feet:
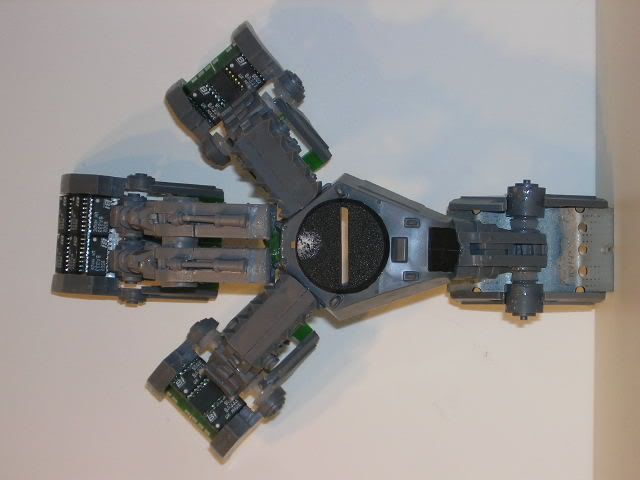
…..
ok. … – so now the only thing still to be done was to connect both legs at the pelvis. of course armor is still missing and the arrangement in the following pics is just a raw concept to get an idea how the final model could look like or how tall it might become. the hinges connecting upper leg and pelvis are water dispensers from the hardware store. ![]() their integrated balljoint made it relatively easy for me to find a good positioning.
their integrated balljoint made it relatively easy for me to find a good positioning.
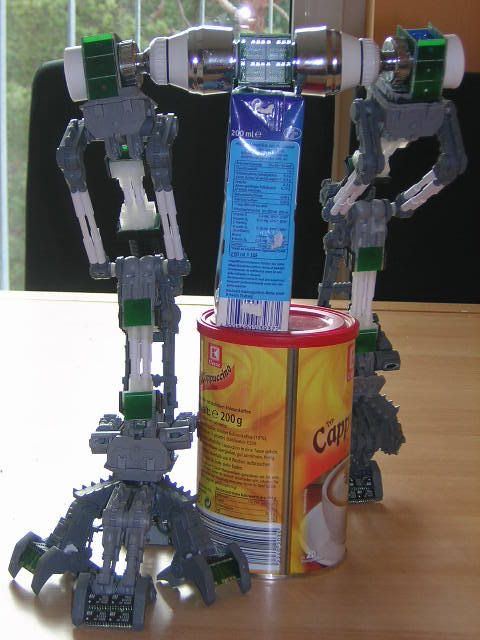
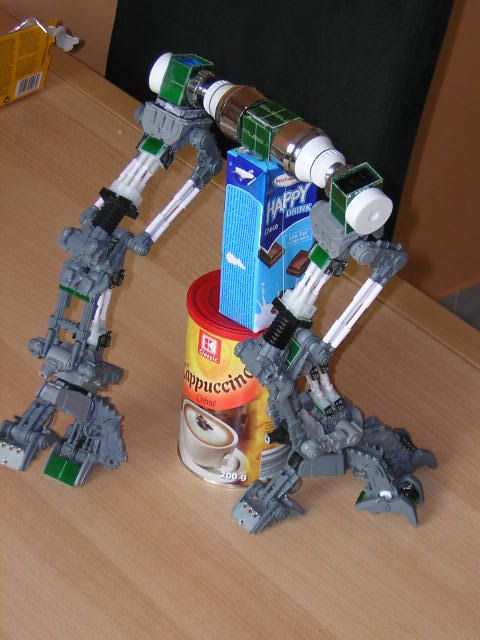

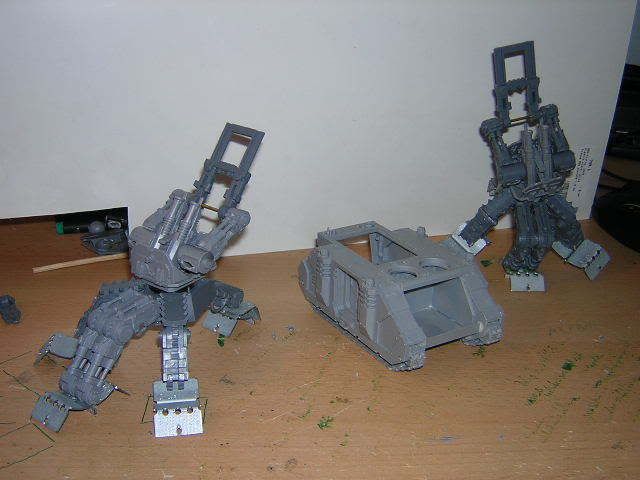
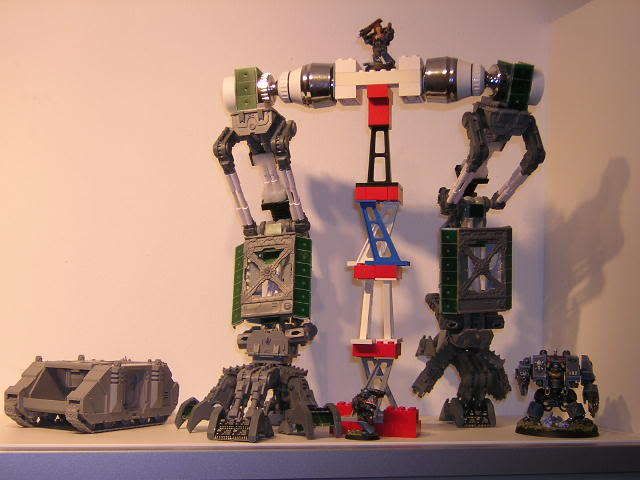
and finaly the last image, that shows the finished leg-concept next to my other titan and a dreadnought. if you look closely you’ll find one of my marines standing on top of it. further i attached a temporary armor to the lower part of the legs.
……………………………………………………………………………………
as always: thanks for reading. feedback’s welcome. ![]()
BobPanda.
BobPanda.

You are really good!!
Man, how did you get those hinges to work?
I am really impressed.
Michael